by Deborah Rogers –
People have been using the magical process of fermentation to make wine for millenia; you could say it’s the original artisanal drink. I’ve been known to drink a glass (or two) of wine myself, but I’ve never given much thought to how it’s made. While most rely on the convenience of the liquor store, there are a large number of wine enthusiasts who like to have a hand in the making and bottling of their own wine. To brew at home requires the purchase of equipment as well as the ingredients; another option is to use a U-brew facility, a sort of hybrid of DIY and have-it-done-for-you. I spent a few hours at Sidney’s Wine Kitz store to find out what’s involved.
For owner Derek, wine making had been a hobby for 30 years before it became his business 15 years ago, so there’s lots of experience for me to tap into. In store you purchase all the ingredients in a box that includes a concentrated juice, some denonite (a type of clay) and the active yeast. There are many varieties to choose from and depending on the type of wine you want to finish with, they range in price, and in the length of time to produce.
Once you’ve selected your wine the juice goes into a large plastic barrel, the denonite is added (it helps with fermentation and clarity) and, of course, water. The customer adds the small sachet of yeast, and can then leave the whole brewing process in Derek’s capable hands! The fermentation happens whilst the wine is in the bucket. It gets checked regularly and tested with a hydrometer to ensure all the sugar has been converted to alcohol, and then when the yeast has finished its job the whole bucket gets filtered and siphoned into a large glass carboy. It has to sit and mature, to develop flavour. Some of the wines get put into barrels for the aging process, adding extra notes to the flavour.
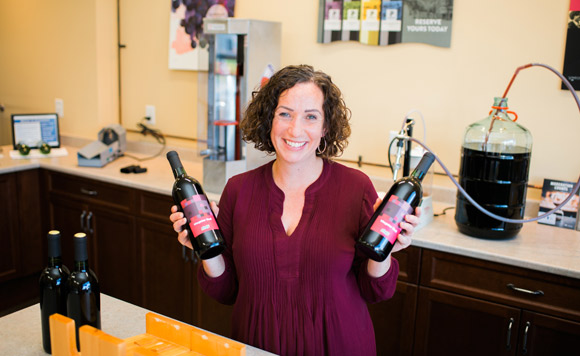
After the necessary six weeks to six months your wine is ready, but you don’t want to take it home in a barrel. Now is the time to roll up your sleeves and get involved! You’ll need to provide bottles: bring your own or buy them – either way they have to be sterilized so you don’t introduce any contaminants into your beautiful clear wine. There’s a commercial dishwasher-style machine to take the strain out of this part. Next step is the bottling machine. One at a time the wine gets siphoned into the bottles: don’t worry though, there’s a shut-off valve to prevent waste.
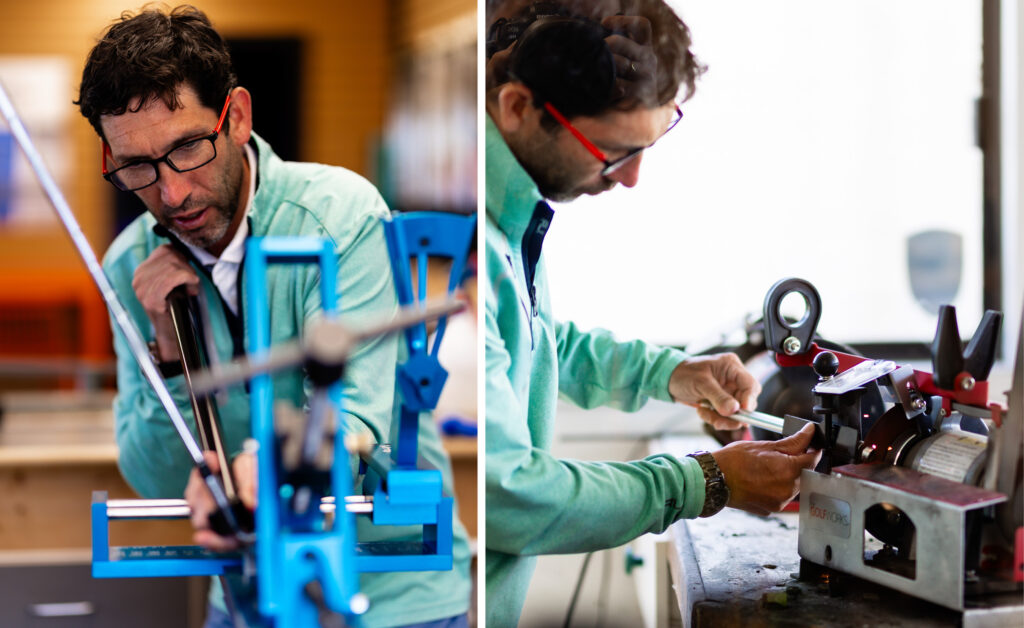
Then the bottle needs to be corked; there’s a machine for that too. It’s hydraulic so no muscles needed. The cork is popped into the top of the machine and the bottle fitted onto a spring-loaded platform. As the door is closed you can watch as the cork gets pushed into the neck of the bottle. There’s something very satisfying about it.
Now you have wine that’s ready to go, but wouldn’t it be nice if it was a little prettier? There’s an option to add a shrink wrap foil cap, creating a finished, professional look. It needs a label too. Some of the boxed kits come with their own, but otherwise there are plenty to choose from at the store. You can customise the information on them too, especially fun if you are making a batch for a wedding or other occasion.
It’s as simple as that: 30 bottles of wine to take home and drink, or share if you must. From start to finish the process is quick and efficient (and let’s not forget, cost-effective). And you can honestly say that you made it yourself!
Photos by Nunn Other Photography.