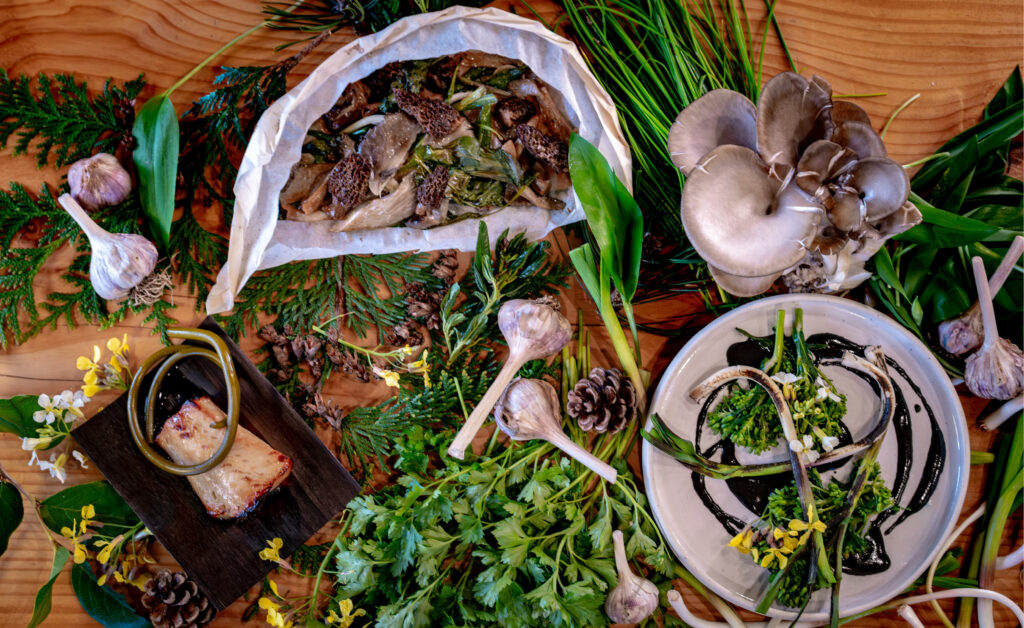
You’ll be amazed how sweet garlic tastes once it has been pickled.
½ tsp mustard seeds
½ tsp celery seeds
2 cups white wine vinegar
2/3 cup granulated sugar
1 cup whole garlic cloves, peeled
1 large red pepper, seeded and thinly sliced
Place the mustard and celery seed in a cheesecloth bag, tied up with cotton string.
Put the vinegar and sugar in a saucepan, and bring to the boil for five minutes on medium-high heat, stirring until the sugar dissolves. Add the garlic cloves and the red pepper slices. Return to the boil, and boil for another five minutes. Discard the cheesecloth bag.
Fill a hot sterilized 475 mL Mason jar with the garlic and red peppers to within one inch from the top. Fill the jar with the hot brine to within a ¼-inch of the top. Wipe the rim of the jar clean, place the lid on top and fasten tight with the metal ring. Allow to cool to set the seal. Let stand several weeks in a cool dark place before consuming.
Twelve Tips For the Best Garlic
1. Planting in October is best for hard-necked and most soft-necked garlic varieties. Plant cloves about six weeks before the first hard frost, as they need a month of near-freezing temperatures and at least 100 days to mature. Spring-planted hardneck garlic does not grow into full-sized bulbs.
2. Chose a sunny site with rich, well-drained sandy loam – not too rich or the tops will overdevelop. Garlic does not do well in light, sandy soils, heavy clay soils, or soils lacking in organic matter. If your soil is poor, amend it with compost and aged manure and add wood ash to aid in bulb formation.
3. Replanting the largest cloves gives you the largest bulbs. Practice crop rotation yearly to avoid problems with white rot.
4. If garlic is spaced close or has competition from weeds, it will result in smaller bulbs. Space cloves six inches apart in the row, and the rows one foot apart.
5. Plant individual cloves with the pointy end up, about two inches deep below the soil surface.
6. Mulch with straw in spring, once the ground has warmed up, to cut down on weeding and watering. Doing this allows you to pull garlic by hand rather than forking it out, which may injure the bulb.
7. Stop watering about three weeks before harvesting to allow the bulbs to cure.
8. For hardneck garlic, cut the flower spikes (scapes) off when they appear. The energy used to go to seed takes away from bulb size.
9. Harvest bulbs of garlic in June/July, when about two-thirds of the leaves have turned yellow. Don’t wait until all the leaves have yellowed, as the cloves separate in an over-mature bulb and will not store well.
10. Dry the bulbs by leaving them in the sun for two or three days, unless it is really hot, which may cause them to brown, or threatening to rain, which would cause them to rot.
11. Remove surface soil from bulbs but preserve the protective skin layers. Hang to dry in bunches of six to seven bulbs in a warm, dark, airy place. Garlic needs four to six weeks to cure thoroughly.
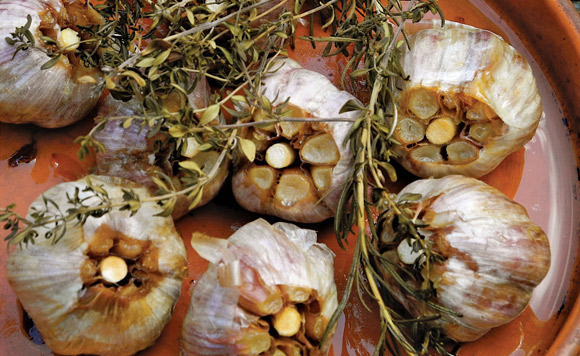
12. Storing garlic in a cool, dark place with ventilation provides the longest storage life.
Carolyn Herriot is author of “The Zero Mile Diet – A Year-Round Guide to Growing Organic Food” and “The Zero-Mile Diet Cookbook – Seasonal Recipes for Delicious Homegrown Food.”