by Chris Sigurdson – Peninsula Landscape Supplies –
This summer when most of my plants were at their peak, I noticed overcrowding, voids and plants not performing due to specific environmental conditions in my yard. Time to change it up! I have a plan of perennials requiring dividing, shrubs that need relocating, and additional trees and shrubs to incorporate into the landscape. With fall approaching, it’s a perfect time to transplant as plants are nearing dormancy, or dormant.
Ultimately, your success will rely on the care that you take to properly prepare plants for transplanting, proper soil preparation, and managing irrigation practices to compensate for changes in environmental conditions.
Before you begin digging plants out of the ground, make sure that your planting area is prepared. Choose an appropriate location for the subject plant, taking into account things such as exposure to wind, light, drainage, etc. Dig the hole larger than the root ball of the plant to be transplanted. It is always a good idea to amend the removed soil with composted organic matter to help improve the chemical and physical structure of the soil (drainage for heavy clay soils, moisture retention for sandy soils, nutrient holding capacity, and aeration). Also, consider incorporating bone meal or mycorrhizae. Mycorrhizae are fungi that colonize the root systems of plants. They help increase a plant’s ability to absorb water and nutrients essential to growth, such as nitrogen, phosphorus and potassium.
When digging a plant for transplanting, it is essential that you try and preserve as many feeder roots as possible. Feeder roots are important as they are responsible for absorbing a majority of essential nutrients and water, so try to dig as big a root ball as possible. When transplanting potted nursery stock, examine the root system of the plant once it has been removed from the pot. Sometimes plants will become root bound, requiring them to be scored with a serrated knife to encourage new root development.
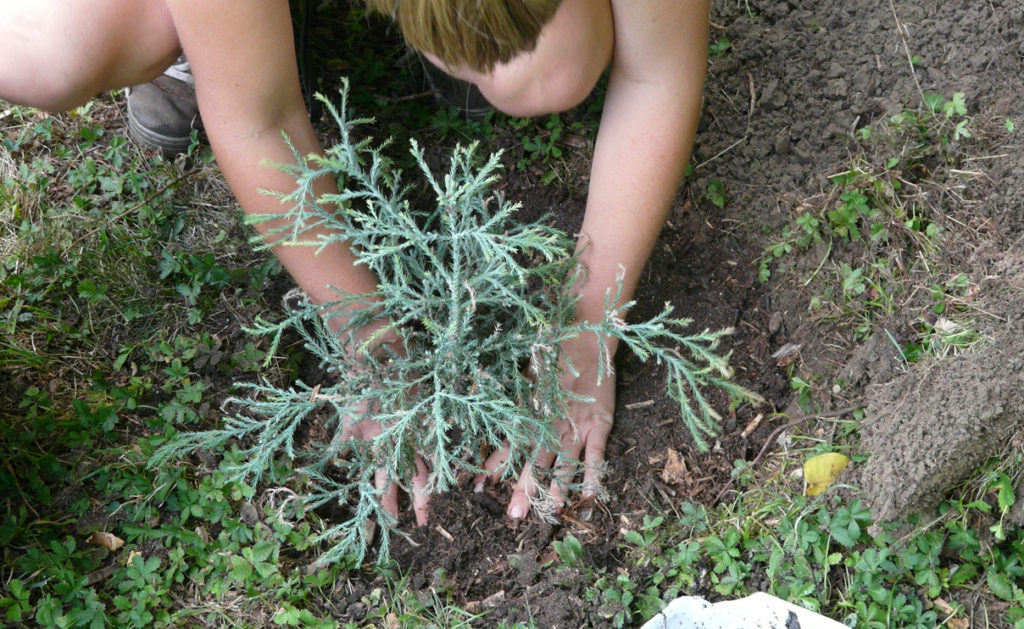
You are now ready to place the transplant in the new hole. Make sure that the crown of the plant either matches the finish grade of the existing soil, or is slightly higher if the subsoil at the bottom of the planting hole was disturbed, allowing for some settling. Begin backfilling the planting hole with your amended soil. This should be done in increments, gently compressing the backfill in lifts to prevent settling. Water your transplant to encourage any further settling of the backfill, and to remove any remaining air pockets around the root ball of the plant. Finish with a thin layer of mulch to insulate the roots and help retain moisture.
One final note – you need to make sure that your transplant is watered regularly. The top several inches of soil should be moist, but not saturated. If the soil is dry, increase your irrigation time and intervals. Weather conditions will always affect how often you have to irrigate, so be sure to monitor your plants closely to ensure they are receiving adequate water.